pfSense on Azure
how to provision pfSense (Community Edition) on Azure.

Azure Firewall is a great product. However, in non-production environments, it can incur significant costs. This article shows how to build an alternative network security solution for labs and non-production environments using the open source firewall pfSense.
In order to be able to accomplish this, different working steps are necessary. This is the first part of a series. In this part the following will be accomplished:
- Create VM on local hypervisor
- Initial Configuration for Azure
- convert qcow2 to vhd and upload to Azure Storage Account
In the second part (which is not written yet) the integration and the configuration in Azure is going to be addressed.
Create VM on local hypervisor
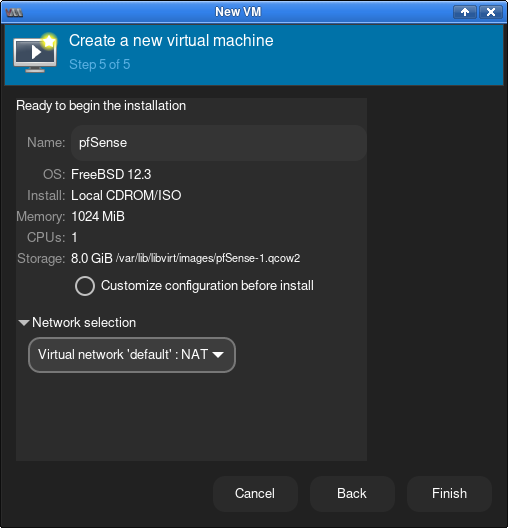
The first step is to create a local VM. In my case, I created the VM on Linux using the KVM hypervisor. Download the pfSense ISO image and create a VM with the following porperties.
Initial Configuration for Azure
The basic installation of pfSense can be done by accepting all defaults. After the pfSense OS is installed, the VM will reboot and the first network configurations will be due:
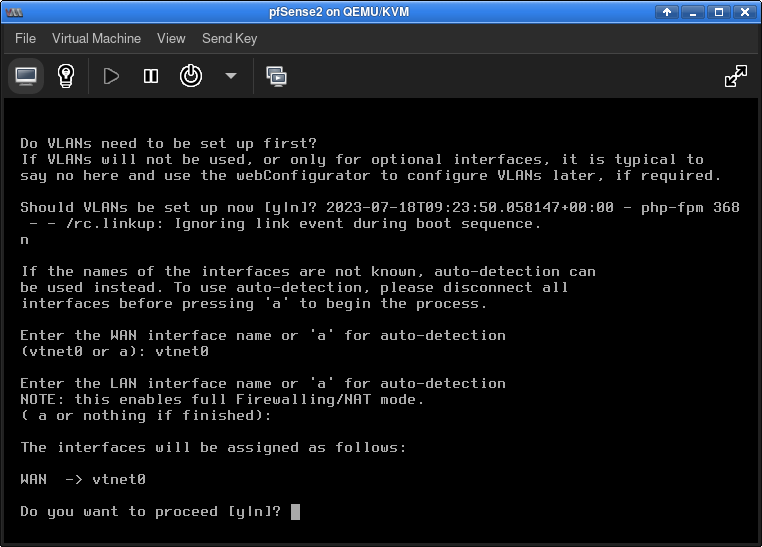
After configuring these settings, the boot process continues and the new pfSense VM soon displays the main menu.
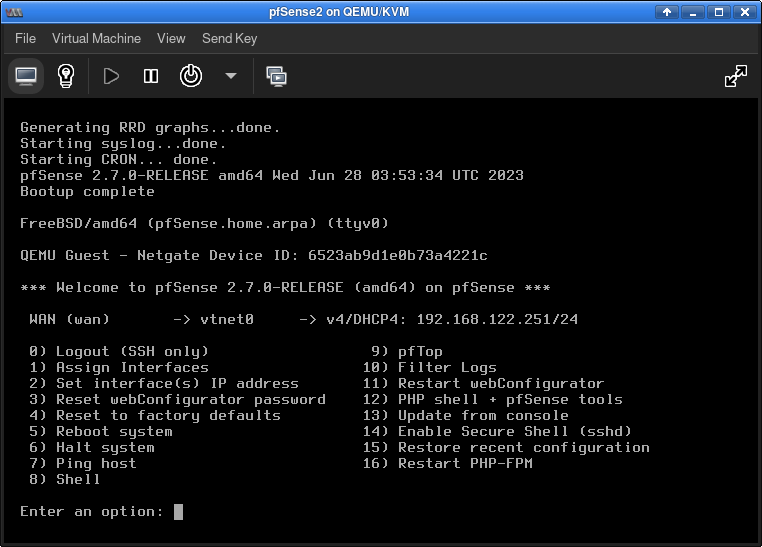
Next you need to install some packages on pfSense. This is easier to do if SSH is enabled. So it is recommended to use menu "14) Enable Secure Shell (sshd)" to enable SSH.
Installing needed packages
Some packages are required for pfSense to work in Azure.
These are installed as follows:
#  update the local catalogues of the
# enabled package repositories & upgrade
# packages
pkg update
pkg upgrade
# install needed pkgs
pkg install sudo bash git
# search for the most current setuptools pkg
# in my case: py311-setuptools-63.1.0
# and install it
pkg install py311-setuptools-63.1.0
# create a symbolic link
# [x.y] is your version
ln -s /usr/local/bin/python[x.y] /usr/local/bin/python
Once all packages are installed, we can install the Linux Agent for Azure.
# Clone the Git repo
git clone https://github.com/Azure/WALinuxAgent.git
cd WALinuxAgent
# List available versions
# and choose the latest version of the agent
git tag
git checkout v[x.y.z]
# Install the agent
python setup.py install
# create another sym link
ln -sf /usr/local/sbin/waagent /usr/sbin/waagent
# and create and enable waagent as a service
echo '#! /bin/sh' >> /usr/local/etc/rc.d/waagent.sh
echo '/usr/local/sbin/waagent --daemon' >> /usr/local/etc/rc.d/waagent.sh
chmod +x /usr/local/etc/rc.d/waagent.sh
echo 'waagent_enable="YES"' >> /etc/rc.conf.local
enable the serial console
echo 'console="comconsole vidconsole"' >> /boot/loader.conf.local
echo 'comconsole_speed="115200"' >> /boot/loader.conf.local
(optional) generalized image
If you need to create a generalized image you sould use the command:
/usr/local/sbin/waagent -deprovision+user to clean unwanted artifacts.
more details in Azure Docs
That was all that was needed to make the image ready for Azure. Now the pfsense VM can be shut down.
This is done with exit and then the option "6) Halt system".
convert qcow2 to vhd
Next is to convert the qcow2 image into a vhd. This is necessary so that the VM can be imported into Azure. Locate the qcow2 image on your hard disk and perform the following actions.
qemu-img convert -f qcow2 -O raw [yourName].qcow2 [yourName].raw
qemu-img convert -f raw -o subformat=fixed,force_size -O vpc [yourName].raw [yourName].vhd
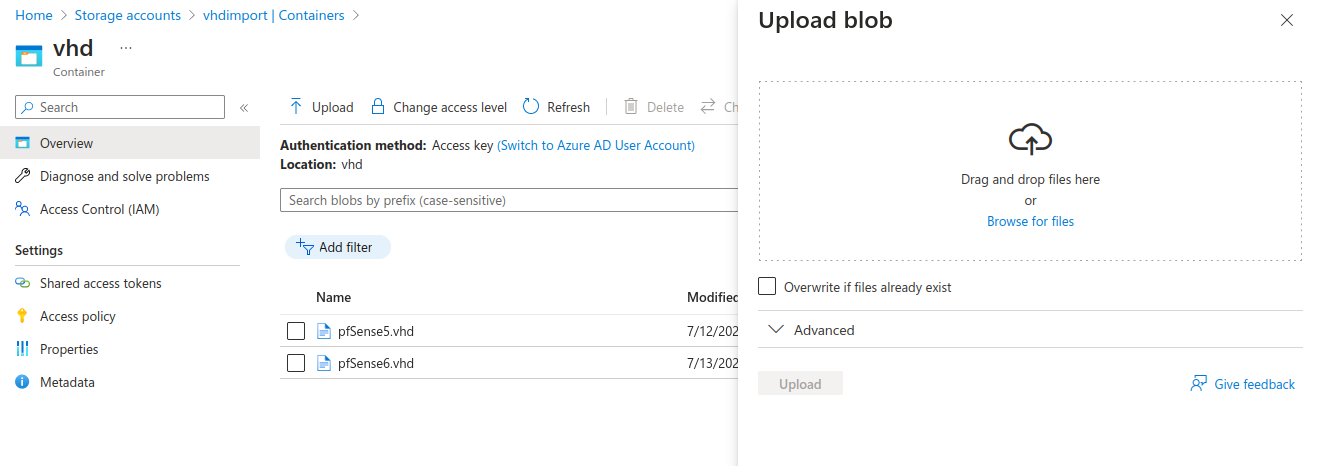
The resulting .vhd can now be uploaded to Azure. It will take a little time....
In the next article I will explain how to create a VM from the uploaded image. This VM then becomes the central firewall in a hub and spoke setup in Azure.