Azure and Pulumi
Get started with Infrastructure as Code (IaC) using python and Pulumi.

I recently made a simple comparison between Pulumi and Terraform for a customer. Both are tools that belong to the Infrastructure as Code (IaC) family. Here is what I have experienced with Pulumi.
Installing Pulumi
I decided to go with Python. Other options would have been Node.js, .Net or Go. For Python the following packages are needed at least (for Debian 10):
sudo apt install azure-cli
sudo apt-get install python3
sudo apt-get pip install virtualenv python3-virtualenv
installing Pulumi on Linux is simple. The following command is sufficient
curl -fsSL https://get.pulumi.com | sh
a first Project
az login or Service Principal
To be able to push the Infrastructure as Code (IaC) Code to Azure you need to be authenticated on Azure AD. The following two options are available for that purpose:
- az login
recommended to run the Pulumi CLI locally (in a developer scenario) - a Service Principal
recommended for team environments, particularly in CI
I have chosen to use a Sevice Principal. Read in Azure Docs on how to setup one yourself.
setup your 1st project
Create a directory
mkdir my1stPulumiProj
cd my1stPulumiProj
execute pulumi and follow the dialog
pulumi new
complete the config for the Service Principal
pulumi config set azure-native:clientId 06e35adb-xxx-zzz-aaa-abcdefghji
pulumi config set azure-native:clientSecret <<myVerySecretString>> --secret
pulumi config set azure-native:tenantId aaaaabbbb-cccc-dddd-eeee-ffffffffffff
pulumi config set azure-native:subscriptionId hhhhhhhh-iiii-jjjj-kkkk-llllllllllll
# to check these details have a look at the following file
more Pulumi.dev.yaml
execute virtualenv and activate it
cd ..
virtualenv -p python3 my1stPulumiProj/
source my1stPulumiProj/bin/activate
execute pulumi up
cd my1stPulumiProj/
pulumi preview
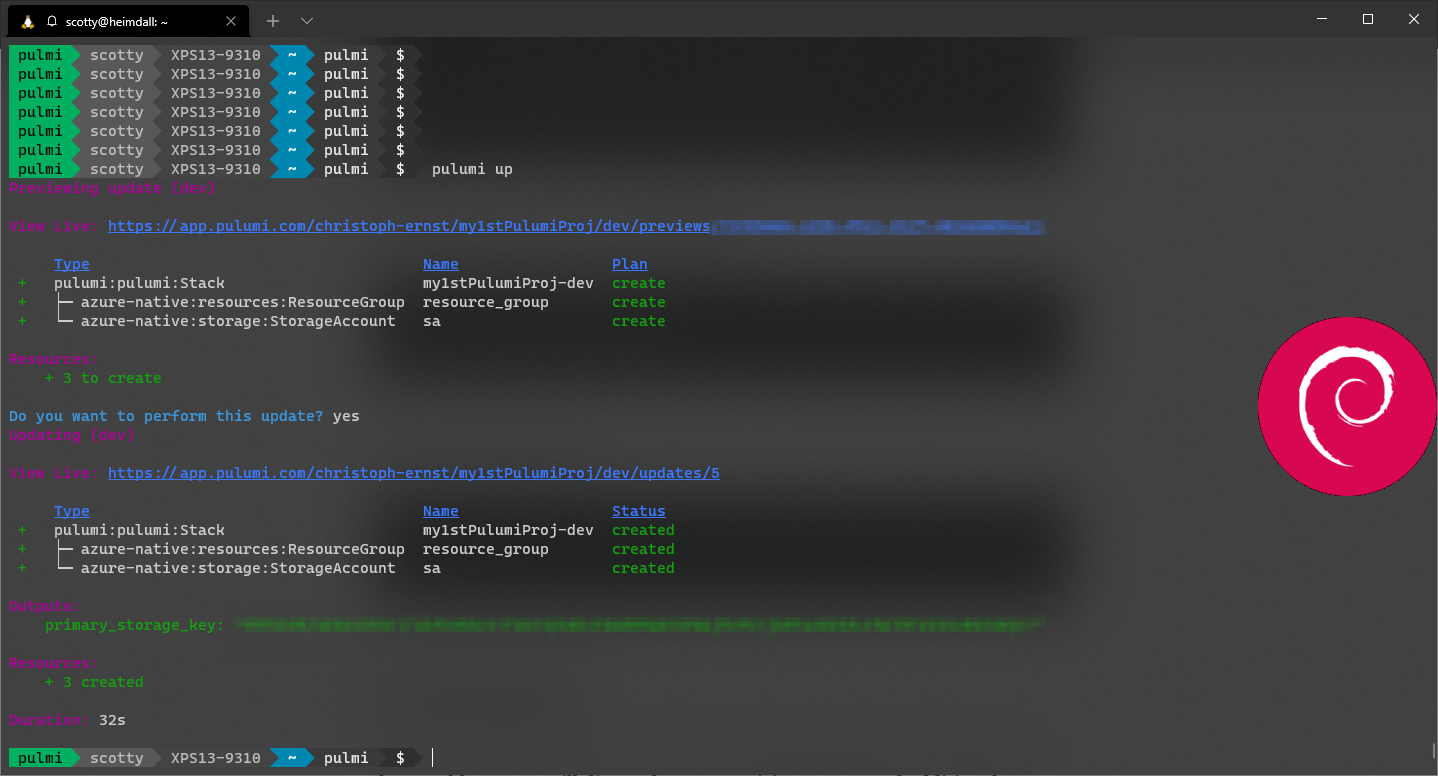
pulumi up
here you can see the few resources that are provisioned after "pulumi up" has been executed:
- a Stack at Pulumi
- a Resource Group at Azure
- and a Storage Account

Conclusion
that was it. With this simple setup, the first resources can be provisioned. In the next blog post I will discuss how to provision a VNet and additional resources in it. Stay tuned....